Important: Make sure you have read and understand the system requirements and have prepared your server for the FotoWeb installation according to the directions in the Preparations for installation topic before proceeding.
If your copy of FotoWeb 7.0 was delivered on a CD-ROM, insert the disc in your server's optical drive and wait for the installation to start automatically. If it doesn't, open the disc in Windows Explorer and run the installation program.
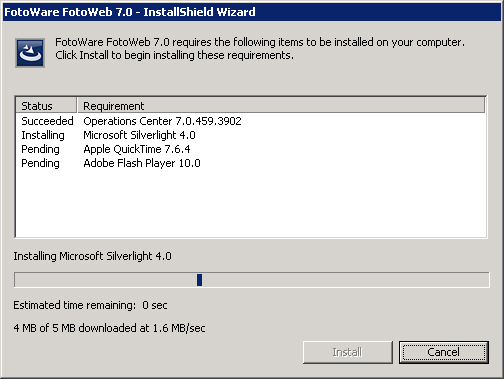
If you downloaded FotoWeb from the FotoWare Update Center, double-click on the installer after downloading. The installer may download additional required software before starting the actual installation of FotoWeb, so an Internet connection will be necessary when running an installer downloaded from the FotoWare website.
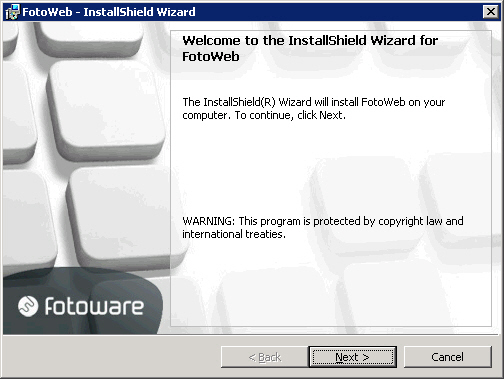
The installer wizard displays a splash screen. Click on Next to continue.
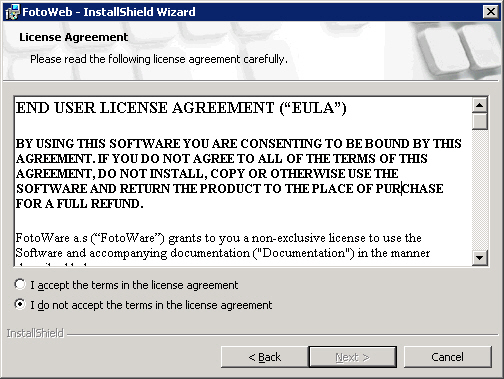
Before proceesing you must agree to the terms in the license agreement. The click Next to continue.
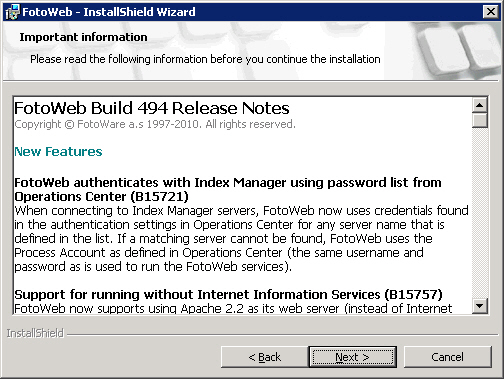
Make sure you read the Release Notes to learn about any fixes and updates to the software. The click Next to continue.
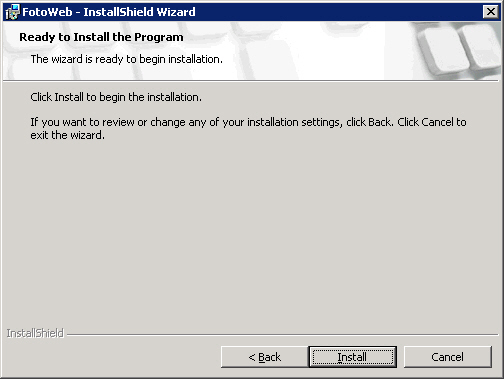
Now click Install to start copying files.
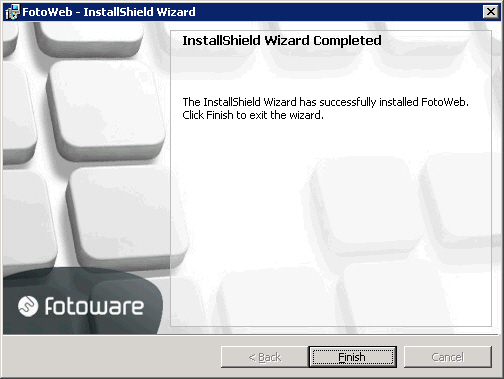
When the file copy process is complete, the below screen is shown. When you click on Finish, the FotoWeb Configuration Tool will start automatically to help you set the basic system preferences.
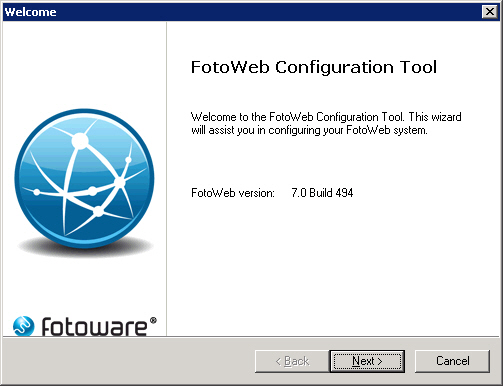
After the installation, the FotoWeb Configuration Tool will start to help you set basic properties for your system. These settings can be changed later in the FotoWeb configuration, so nothing you set here is permanent in the sense that it can always be changed later if you wish.
The installation program places a shortcut to the FotoWeb configuration tool on your desktop so that you can cancel the configuration at this time if you would like to set up FotoWeb later. However, you must run the configuration wizard before you can start using FotoWeb. After you have completed the configuration wizard the shortcut to it will disappear from the desktop, since all subsequent configuration can be performed in the Operations Center.
Click Next to proceed with the configuration or Cancel to configure FotoWeb later. If you choose to cancel you must start the configuration tool later by double-clicking on the Configure FotoWeb shortcut on the desktop.
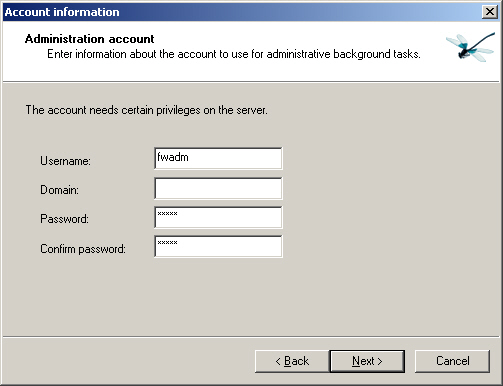
All FotoWare applications use a common background service account for handling client requests and interaction with the server file system and network. If another FotoWare server application has already been set up on your server, chances are the process account is already set, and this step on the configuration wizard will be skipped automatically. More information about the background service account can be found in the Operations Center documentation.
Note: If no process account has already been set in the Operations Center, you must enter a username and password here. The credentials will be verified, so be warned that typing the wrong password several times could result in the account being locked out.
Important: If you specify a domain account and fill in the Domain field as yourcompany.com, yourcompany.net or something similar using a suffix, you will not be able to use a trusted connection when connecting to the SQL database. That's because the SQL database stores the windows user with only the short form of the domain name, omitting the three-letter suffix (.net, .com etc.) so that the SQL server will not be able to find the user.
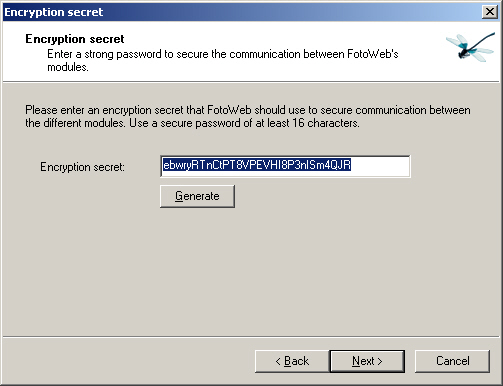
Next, FotoWeb suggests a random encryption secret. The encryption secret is a password string used by FotoWeb to encrypt the information sent between FotoWeb and clients’ browsers. You will normally not need to know or store this password. However, if you are integrating FotoWeb with other systems that store URLs to previews or downloads, then you must take a note of this encryption secret in case you need to reinstall FotoWeb. Failure to do so will render all previously generated URLs invalid.
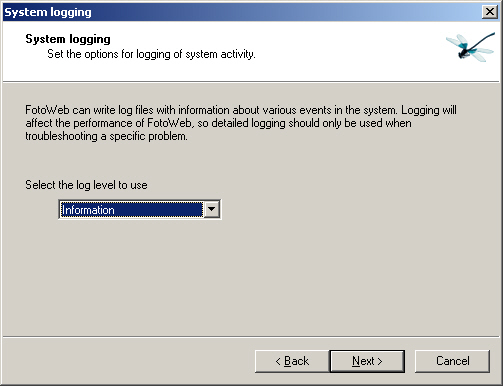
FotoWeb logs all its functional activity to ‘FotoWeb System Log’. You can choose to only log
Errors
Errors and warnings
Errors, warnings and information
It is recommended that you set this setting to Information.
Note that this setting has nothing to do with the reporting of user activity on the web site.
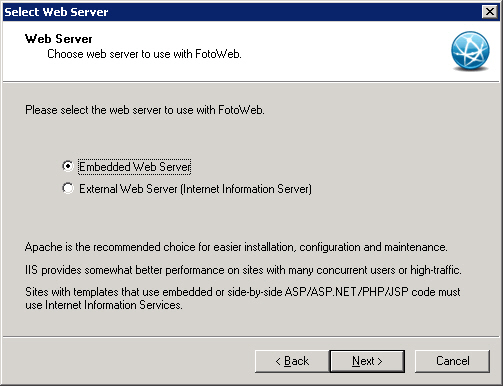
Now choose which web server you wish to use for hosting your site. The default option is to use the built-in Apache web server, but you can also choose to use Microsoft's IIS. When making your choice, you should consider these points:
The Apache web server does not support Single sign-on
Apache only supports fwx embedded script processing - any other processing (asp etc) will have to be done through ajax calls.
IIS will have slightly better performance on high-traffic servers in this release, but will be more complex to maintain than the Apache server, which is controlled entirely by FotoWeb.
When upgrading from an earlier version of FotoWeb the existing IIS installation will be retained - Apache is not an option for upgraders from earlier versions of FotoWeb that ran on IIS.
Note: If you choose to use Internet Information Services, when you click Next the required IIS packages will be installed if they are not already present on the server. This process can take a very long time on 2008 servers before the R2 version. When choosing the IIS option on a Windows Server 2003 you may be asked to insert the Windows Server media to install the required IIS components.
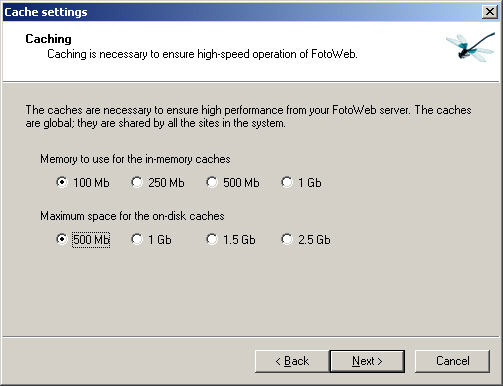
FotoWeb stores the metadata read from files and generated preview and thumbnails into cache for fast consecutive retrievals. You can configure the amount of memory and disk to be used for memory and disk caches. Generally, the more space you allocate, the faster your system will run.
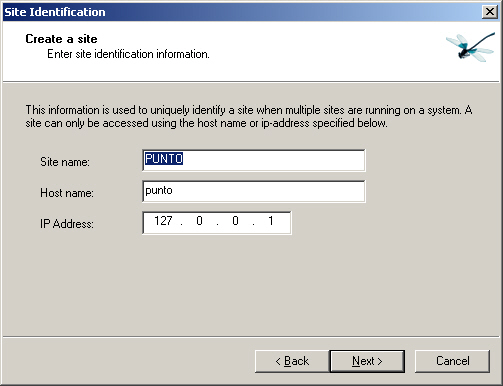
The site identification consists of a site name that is for internal use only and host name and IP address that connect the site with IIS and rest of the world. The site name can be anything you choose as long as it consists of letters [A-Z] , [a-z] and [0-9]. The host name must be the fully qualified host name along with the IP address as configured in the web site in IIS to which this FotoWeb site will be connected to.
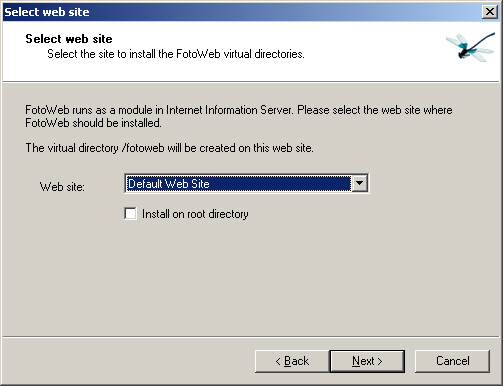
If you chose to host your FotoWeb on an IIS server, you also need to specify a unique web site in IIS. The wizard will display all the websites that are available in IIS. Choose the web site with the same host name and IP address as configured in the previous dialog.
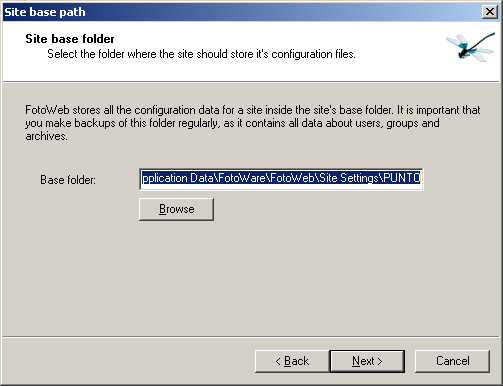
The site base folder is the location where FotoWeb stores the configuration and data files for the site. For optimal performance, this folder should be located on the fastest drive on the server that is usually the local system drive. The wizard will automatically suggest a default location for the site.
FotoWeb creates and uses an SQL database to store activity reports and user albums. FotoWeb installs a SQL Express 2005 instance (version 2008 in more recent installers) named ‘FotoWare’ as part of the installation. The default choice for the database engine is this instance with the following default values:
Database name: <Computer name>\FotoWare
User name: sa
Password: GgCP6127
The FotoWare Process Account is also granted access to this instance by default.
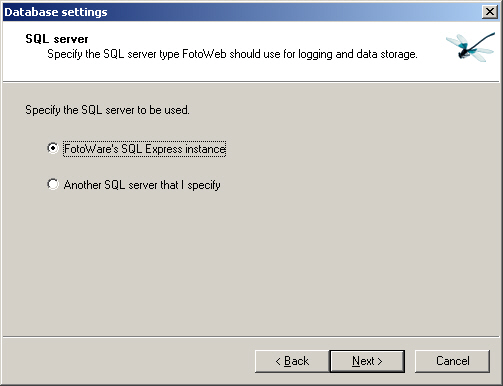
If you have installed a full version of Microsoft SQL Server, then select Another SQL server that I specify to enter the details of the server.
Important: SQL Express 2005 is limited to 4GB database size. SQL Express 2008 is limited to 10 GB. If you foresee larger databases on your system, you should consider using a full version of Microsoft SQL Server instead.
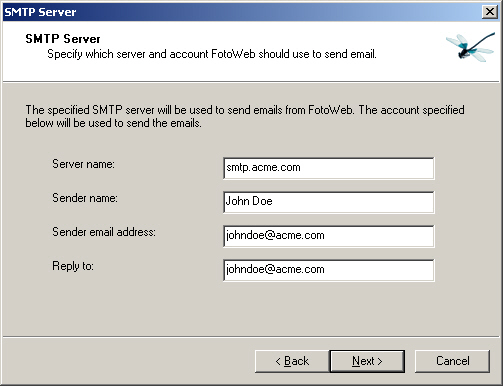
An SMTP server is required for the email functionality in the FotoWeb. It is used to issue reports and statistics, invitations to shared albums, deliver files via email etc. The SMTP server is mandatory.
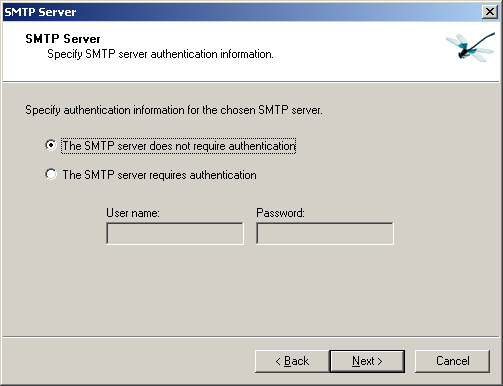
If you do not already have an SMTP server, you can use the one that is available in Windows. This service is a part of IIS and can be installed through the Add/Remove Programs in the Control Panel.
Specify the authentication details if required by your SMTP server.
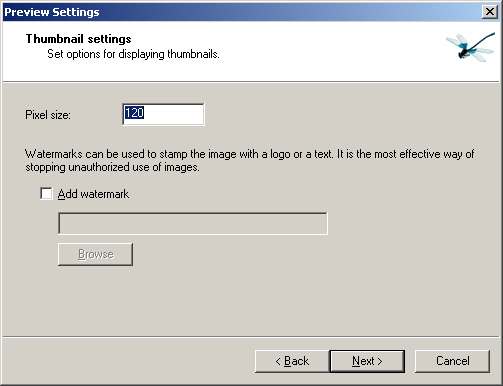
Set the size and watermark settings for the thumbnails shown in the grid page.
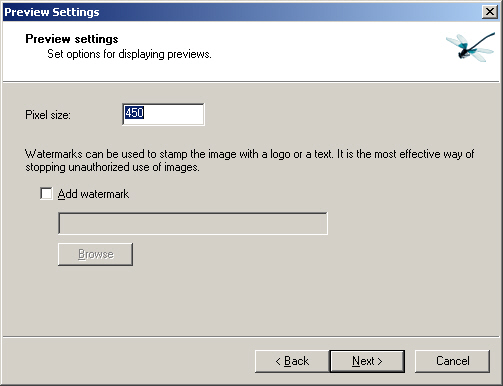
Set the size and watermark settings for the previews shown in the preview page. Preview settings can be overridden for individual users when you create user accounts in the FAC.
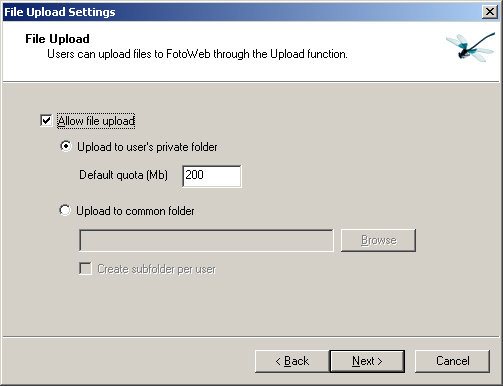
Specify the upload settings for the site. The default options suggest storing the uploaded files to users’ private folders under the site folder. You can also choose to store all uploads to a common folder to better manage the disk usage.
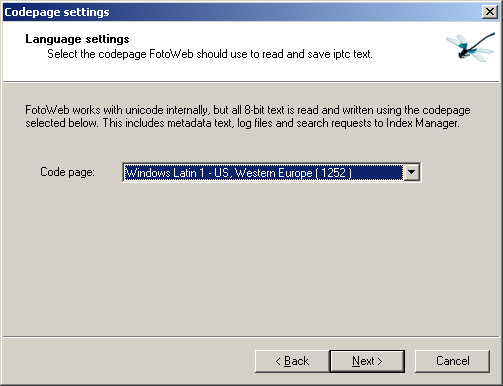
Select the character set that FotoWeb uses to read and write metadata and script files. This character set is also used communicate with the clients over HTTP.
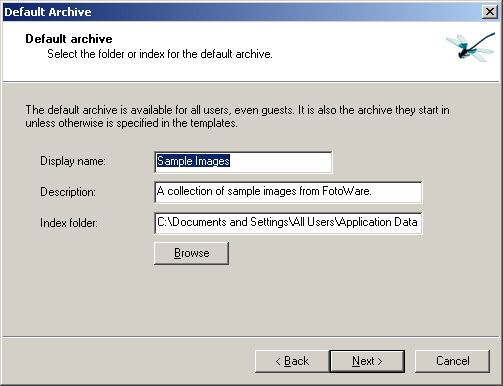
The wizard will automatically suggest creating an archive of the sample images installed with FotoWeb. If you have already prepared an Index Manager archive or other file archive, you can its path here. This archive will by default be accessible by all users. The settings and permissions of this archive can changes later on through FAC.
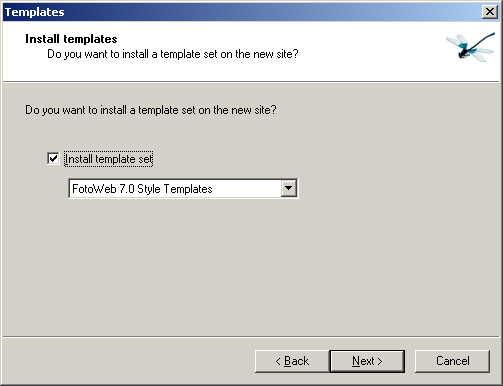
FotoWeb templates define the interface for the users accessing FotoWeb over the Internet. The wizard by default suggests the latest template set, however, other templates may be available for selection as well.
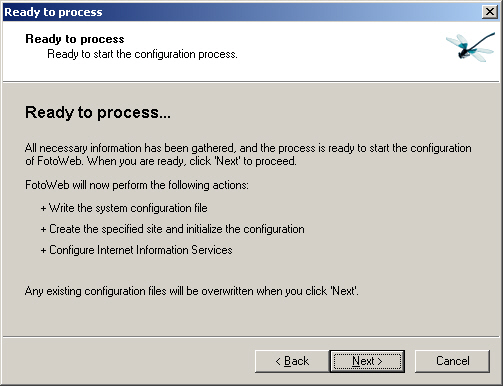
The wizard has now gathered all the information it needs to configure FotoWeb. Use the Back button to
change any settings. Click Next to start the configuration.
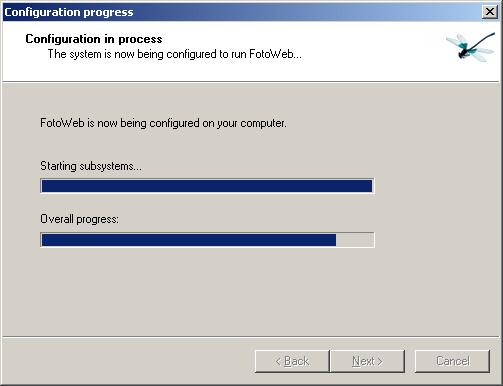
The wizard will indicate the progress as it is configuring FotoWeb.
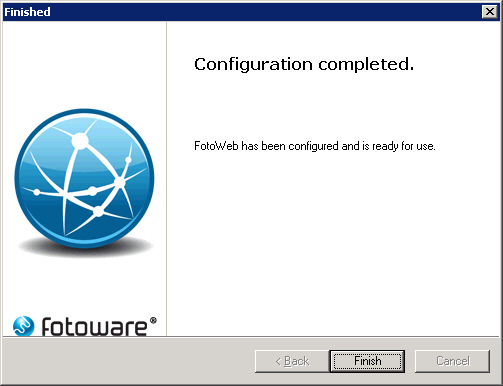
The wizard will inform you when the configuration has completed. Click Finish to exit the wizard. You can now access FotoWeb using a web browser or perform further administrative tasks in the Operations Center.
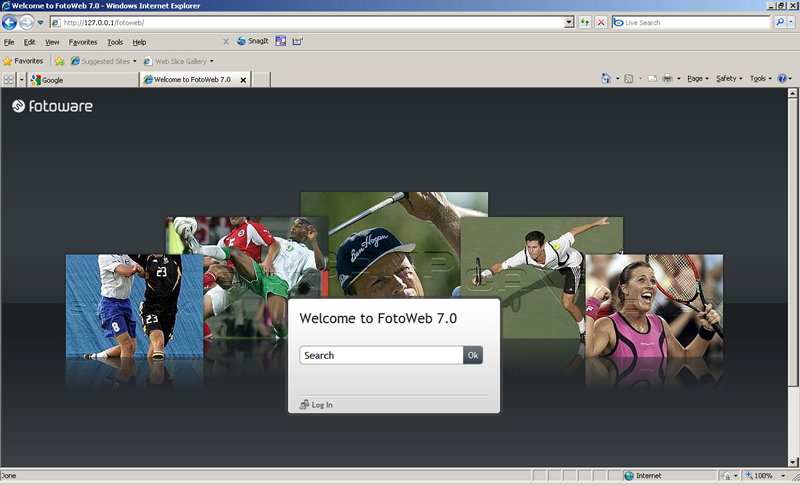
You can now test the site opening your web browser and directing it to the address you defined in the configuration wizard: