As with indexes, it might be a good idea to create a global folder named Unions in which you create subfolders for each union. This will make maintenance easier and gives you greater control over your system. Make sure that you create a separate folder for each union. Share the union folder or its parent folder so that it can be reached by the clients. You can have up to 32 different unions for each Index Manager Enterprise, and each of these unions can have up to 32 members.
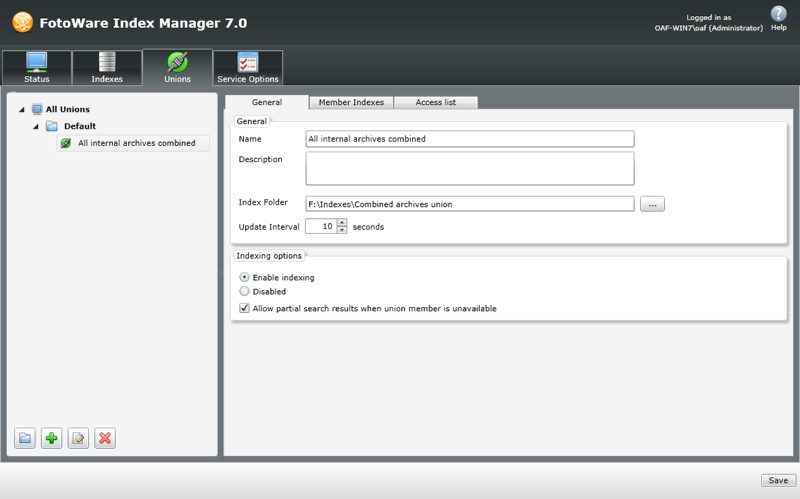
To create a union, click on the Unions tab and then click on New Union in the left panel. You now get two tabs where you have to specify the union's properties.
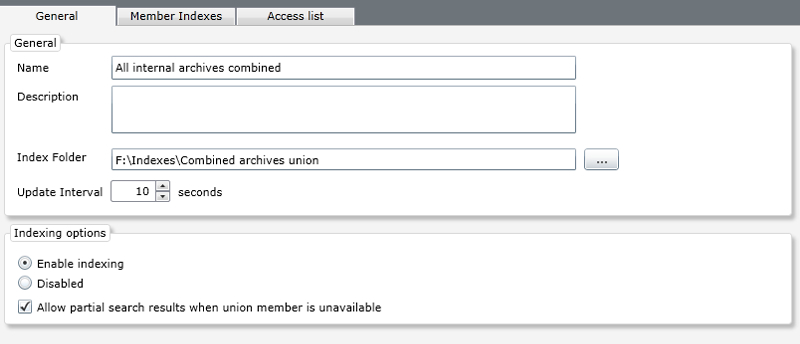
Name: Enter a descriptive name for the union into the Name field. This is the archive name that will be visible to the clients.
Description: Enter a more precise description of the union in this field.
Index Folder: Here, type in the path to the index folder where the union should be stored. You should not point it to an existing index, but rather create a new index folder where the union index is placed. Later you will add members to the union, i.e. existing indexes that will be joined together or configured with backup solutions. More about that later.
Update interval: Choose how often (in seconds) the union should check the connected union members to look for updates:
Decrease the interval if you would like to check the members for updates more frequently. This is useful if the union members are updated often and you want to make sure that the archive is fully up-to-date. It will, however, increase the network load and the processor load on the union server. If you need to decrease the interval but experience that the union server is getting too slow, try to decrease the browse size for each of the union members.
Increase the interval if the members should be checked for updates less frequently. This is useful for indexes that rarely change or if the processor load or network load is too high. You can also try to decrease the browse size for each of the union members to reduce the processor load.
Note that a search will always return the newest files and is not affected by this setting. It only applies to browsing of the archive. The number of seconds between updates can range from 1 to 1,000.
Indexing options: Enable or disable the union by selecting one of the radio buttons here. If you are configuring a union that combines several indexes, you may also choose whether you will allow partial search results in the event that one of the attached indexes fails to respond. This may of course return an incomplete search result, but may be a better option than letting the search fail altogether.
On the Member Indexes page you can add indexes to the union. To combine several indexes in a large archive, add primary members to the union. Click on the + below the list of indexes to add new indexes to the union. By default, the connection window that opens lists indexes on the local server. However, you can easily connect to indexes on another server by typing in that server's host name. The first time you connect to a remote server, you may have to authenticate. The access credentials are then stored in the local Operations Center (under Server Settings | Authentication) for future use.
A note about making secure connections (SSL):
To connect to an Index Manager server over a secure connection, type in fwps://hostname in the server address field. This will connect to the server using the SSL port number set in the Operations Center, port 7001 by default. It is also possible to establish a secure connection by typing in hostname:7001, presuming port 7001 is the port configured for SSL.

When adding a secondary index to the union you get to choose from the drop-down list how you would like the secondary index to operate. It could work as a backup, a parallel or a round robin index. An explanation of the different types can be found in the Backup Union Types topic. You will also find valuable information about the different union types in the appendix inside this help system.

On the Access list tab you can determine which users are allowed access to the union. The default setting is to Allow everyone access. However, if you would like specify access you can do so by selecting the Specify access option and clicking on the Add button at the bottom of the screen. This will bring up a window that lets you search for users and/or groups and give them access. You can type in the complete or part of the user name or group name and click on Search to locate the entry you're looking for.
The type of authentication, whether local Active Directory-based, is determined by the choice you've made on the Server Settings tab in the Operations Center. Please refer to the Operations Center documentation to learn more.
Note that restricting access to a union in Index Manager does not eliminate the possibility that a FotoStation configuration can in fact contain a shortcut to the archive. If a user without access tries to connect to the union, he will simply get a message stating that access to the archive is denied.
The access list on the Union tab controls which users can access the indexes attached to it. However, since it is also possible to specify access lists on each attached index, this requires some explaining:
When you configure a union's connection to its member indexes, you will be asked to authenticate for access to the member index. The account you specify will be stored in the union server's Operations Center, on the Authentication tab under Server Settings.
Hence, to successfully connect to a union whose member indexes have a set access list, you need to make sure that the account that is used to authenticate is also given access to the member indexes. Having done that, you can give individual users or groups access to the union on the union's access list.
When a union server connects to local indexes, i.e. indexes that reside on the same Index Manager that runs the union, the server's Process Account will be used for access to the indexes. Thus, an access list on the member indexes will have to include the process account for correct authentication.
When you have created a union, you may notice that it is marked as [OFF] in the list of unions. You must go to the General tab under Unions and choose Enable indexing to enable it. Otherwise, even if you start the indexing service, this union will not be initialized.
To delete a union, select it in the list and go to the General tab. Then click on the X button under Actions to remove it. You will be asked to confirm deletion of the union.